
Aseptic Technique: The Basics
- tl1142
- Oct 10, 2023
- 3 min read
Updated: Nov 2, 2023
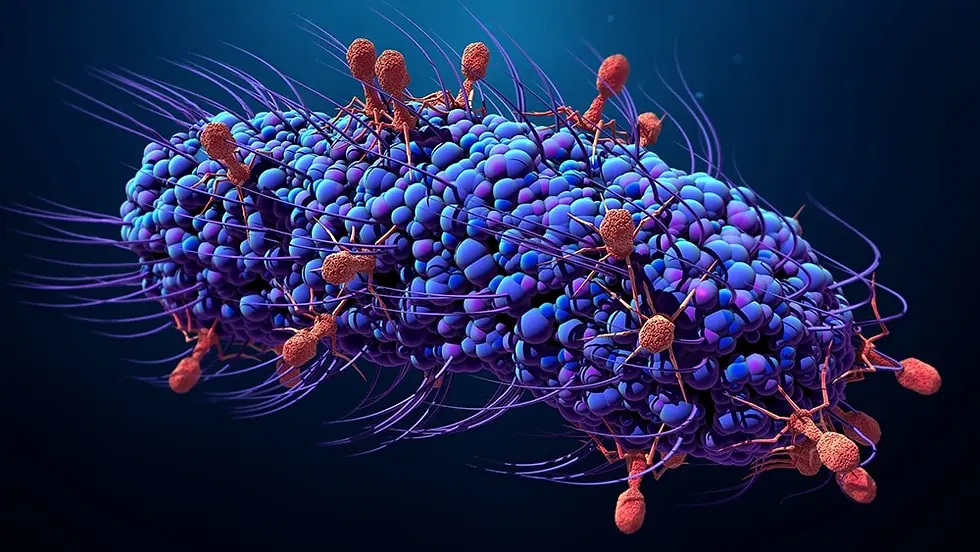
Have you started working in a microbiology lab for the first time? Are you hearing the term aseptic technique and wondering what that means? Well, starting with the basic definition, aseptic technique is a collection of medical practices and procedures that help protect scientists and lab workers from dangerous germs. Here we'll give you a quick list of some rules to follow and what they mean, keep in mind depending on the lab you are in you may have more rules and they may be approached differently.
1. Always wash your hands well before and after working in the lab. Hopefully, you already know how to properly wash your hands but if you do not here is a helpful instructional photo.

2. Among the most important; proper PPE or personal protective equipment. This will almost always include disposable gloves, a lab coat and some form of eye protection either safety glasses or a face shield. This can also include masks, repirators, shoe coverings and much more dependent on what types of microbes you are dealing with.

3. Sterilize equipment for use. This can mean autoclaving things like cell spreaders, beakers, culture tubes, etc. This can also mean sterilizing with flame, likely from a bunsen burner, for things like loops and inoculating needles. To do this you would put the end of the tool in to the flame for about 1-3 seconds and then allow it to cool for about 15 seconds to not kill your sample (do not wave the tool through the air to cool as it could pick up microbes from the air). There are other forms of sterilization you may use less frequently, for example cold sterilization, which involves dunking a metal instrument in ethanol and using flame just to burn off the alcohol.

4. Keep media plates and tubes closed when not actively using them and try to limit the time they are open for. Leaving media open exposes it to the air and the longer you leave it open the more likely it is to pick up microbes from the air and possibly contaminate your sample. While these plates are open to show off their really cool agar art, this would not be the best way to keep your plates.

5. If using a pipettor change tips between samples and if doing dilutions between every dilution, or as often as directed by your instructor. To reduce plastic waste if you are inoculating multiple things with the same sample you may keep using the same tip only if the tip has not touched anything but the sample. Always change tips if it touches anything other than your sample or whatever else you might be using it for.

6. Always place any kind of cap or lid upside down, that way the side that faces your sample never touches your bench and you do not contaminate your workspace or your sample. Also, avoid touching the underside of any caps or lids.
7. Always clean your workspace before and after working. This can be done with bleach, ethanol or as directed by your instructor. Always allow the cleaner you are using to sit for an extended period to allow it properly kill the bacteria, do not immediately wipe it away.
8. One final reminder to wash your hands again before you leave the lab just as you did when entering the lab. Here is a fun video to remind you of proper handwashing technique:
This covers the basics of aseptic technique. Always remember to follow the directions of your instructor as what you are working with may require more safety measures.

Comments